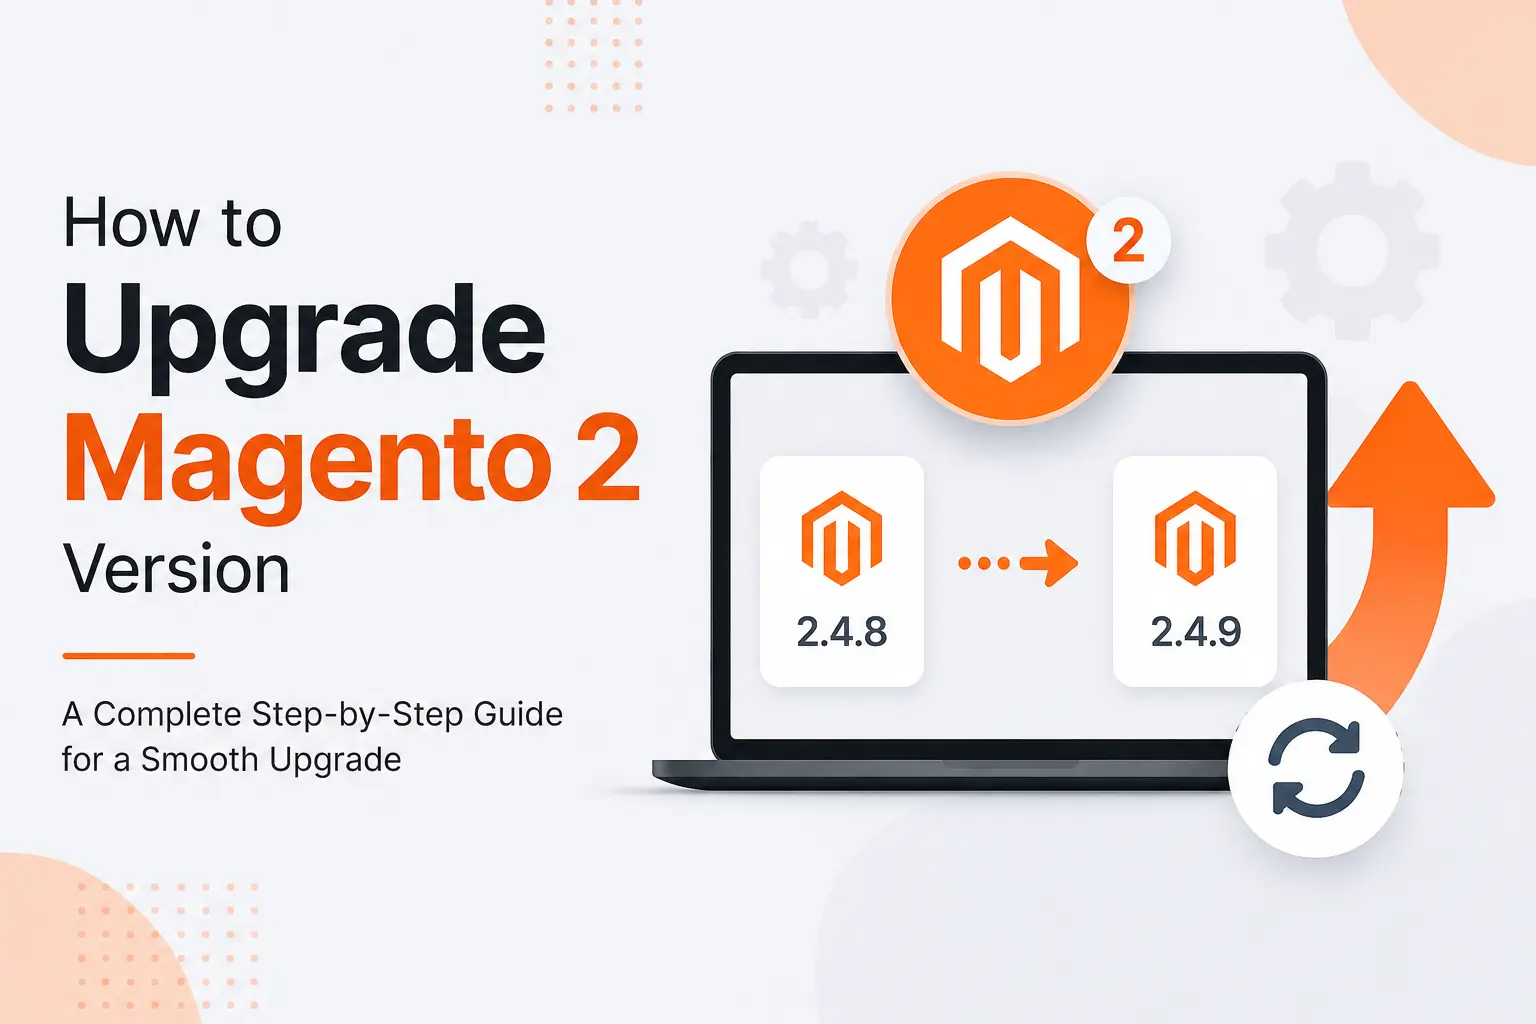

Keeping your Magento 2 store on the latest version isn’t optional anymore. Every new release patches security holes, improves performance, and keeps your store compatible with modern PHP, MySQL, and third-party extensions. But an unplanned Magento 2 upgrade can break your storefront just as fast as it fixes it.
This guide walks you through a complete, practical process to upgrade Magento 2 — from planning and compatibility checks to the actual upgrade commands, testing, and troubleshooting common errors.
Why You Should Upgrade Magento 2 Regularly
- Security fixes – Older Magento versions stop receiving security patches, making them a common target for attacks and PCI compliance failures.
- Better performance – Newer releases optimize indexing, caching, checkout speed, and admin responsiveness.
- Extension and PHP compatibility – Most third-party modules only support the latest 2–3 Magento versions; staying behind eventually locks you out of updates entirely.
- New features – Improved admin UI, GraphQL enhancements, better B2B, PWA Studio, and Adobe Commerce integrations.
- End-of-support risk – Adobe officially retires support for older Magento versions on a fixed schedule. Once a version is unsupported, you get zero security patches, even for critical vulnerabilities.
If your store is more than 2 major versions behind, an upgrade should be treated as a priority, not a “someday” task.
Understanding Magento 2 Versioning
Magento 2 releases follow a major.minor.patch pattern (e.g., 2.4.7). It helps to know the difference before planning your path:
| Type | Example | What It Includes |
|---|---|---|
| Patch release | 2.4.7 → 2.4.7-p1 | Security fixes only, low risk |
| Minor release | 2.4.7 → 2.4.8 | New features, some compatibility changes |
| Major release | 1.x → 2.x | Full re-platform, not a simple upgrade |
If you’re on Magento 1, this guide doesn’t apply — you’ll need a full migration, not an upgrade, since Magento 1 and 2 have different architectures.
Direct Upgrade vs. Incremental Upgrade
You generally have two upgrade strategies:
- Incremental upgrade – Move version by version (2.4.4 → 2.4.5 → 2.4.6 → 2.4.7). Safer, but slower, since you test at every step.
- Direct upgrade – Jump straight to the latest version. Faster, but riskier if you’re several versions behind, since dependency conflicts and deprecated code pile up.
For stores more than 3 versions behind, an incremental upgrade on staging is usually the safer route, even though it takes longer.
Step 1: Check Your Current Magento Version
php bin/magento --version
Also check your Magento edition (Open Source vs. Adobe Commerce) since the upgrade commands and support paths differ slightly.
Step 2: Review System Requirements
Each Magento version supports specific PHP, MySQL/MariaDB, Elasticsearch/OpenSearch, Redis, Varnish, and Composer versions. Check the official Magento DevDocs compatibility matrix before proceeding.
Common mismatches that break upgrades:
- Running PHP 7.4 when the target version requires PHP 8.1+
- Using Elasticsearch when the new version requires OpenSearch
- Composer 1.x instead of Composer 2.x
Fix these environment issues before touching the Magento codebase.
Step 3: Take a Full Backup
Never skip this step. Back up:
- Codebase (via Git tag or a zipped copy)
- Database (full mysqldump)
- Media files (pub/media)
- Configuration (app/etc/env.php, app/etc/config.php)
mysqldump -u [user] -p [database_name] > magento_backup.sql
tar -czf media_backup.tar.gz pub/media
A tested rollback plan — meaning you’ve actually verified you can restore from it — saves hours of downtime if something goes wrong mid-upgrade.
Step 4: Set Up a Staging Environment
Never upgrade directly on production. Clone your live environment (code, database, and media) to a staging server that mirrors production as closely as possible. Run the entire upgrade there first, test thoroughly, then repeat the same steps on production once verified.
Step 5: Check Extension and Theme Compatibility
List all installed third-party extensions and custom modules, then confirm each one supports your target Magento version:
php bin/magento module:status
Reach out to extension vendors early if compatibility isn’t confirmed on the Marketplace listing — this is often the slowest part of the whole process, not the upgrade itself. Also review custom themes for deprecated layout XML or blocks that may break.
Step 6: Enable Maintenance Mode
php bin/magento maintenance:enable
Step 7: Update Magento via Composer
For most stores, Composer is the recommended upgrade method:
composer require magento/product-community-edition=2.4.7 --no-update
composer update
Replace 2.4.7 with your target version and product-community-edition with product-enterprise-edition if you’re on Adobe Commerce. Composer resolves dependency conflicts here — read the error output carefully and resolve any blocking conflicts before continuing.
Step 8: Run Setup Upgrade and Compile
php bin/magento setup:upgrade
php bin/magento setup:di:compile
php bin/magento setup:static-content:deploy -f
- setup:upgrade applies database schema and data changes
- setup:di:compile generates optimized dependency injection codesetup:static-content:deploy compiles frontend/admin static assets (skip this in developer mode)
Step 9: Clear Cache and Reindex
php bin/magento cache:flush
php bin/magento indexer:reindex
If you use cron-based indexing, confirm your cron jobs are still running correctly after the upgrade:
php bin/magento cron:run
Step 10: Disable Maintenance Mode and Test
php bin/magento maintenance:disable
Test thoroughly before considering the upgrade complete:
- Homepage, category, and product pages
- Cart, checkout, and payment flow
- Admin panel functionality and permissions
- Shipping methods and tax rules
- Third-party extensions and custom modules
- Site speed and Core Web Vitals
Step 11: Monitor After Go-Live
Watch server logs (var/log/system.log, var/log/exception.log), error reports, and site speed for the first 24–48 hours after upgrade. Catching an issue early is far easier than fixing it after customers report it.
Common Magento 2 Upgrade Errors and Fixes
- “Composer memory limit” error – Increase PHP memory limit or run COMPOSER_MEMORY_LIMIT=-1 composer update.
- White screen after upgrade – Usually a static content deployment or cache issue. Re-run setup:static-content:deploy -f and cache:flush.
- Extension conflicts during composer update – Temporarily disable the conflicting module, complete the upgrade, then update the module separately.
- Database schema errors during setup:upgrade – Check for corrupted custom modules with outdated Setup scripts; run in developer mode to see full error traces.
- 500 error after deploy – Check file permissions on var, pub/static, and generated directories.
Magento 2 Upgrade Checklist
- Confirm current version and edition
- Verify PHP, MySQL, and Elasticsearch/OpenSearch compatibility
- Take a full backup (code, database, media, config)
- Test the entire upgrade on staging first
- Confirm extension and theme compatibility
- Run the Composer upgrade and setup commands
- Clear cache, reindex, and redeploy static content
- Test storefront, checkout, and admin thoroughly
- Monitor logs and performance post-launch
Frequently Asked Questions
How often should I upgrade Magento 2? Ideally, apply security patches as soon as they’re released and plan a minor version upgrade every 6–12 months to avoid falling too far behind.
Can I upgrade Magento 2 without Composer? Composer is the officially recommended method. The System Upgrade tool in the Admin panel exists but is being phased out on many hosting setups — Composer gives you more control and better error visibility.
How long does a Magento 2 upgrade take? For a small store with few extensions, a few hours. For a large store with many customizations, plan for several days including compatibility checks and QA testing.
Is downtime required during a Magento 2 upgrade? Yes, maintenance mode is required during the actual upgrade steps, but with good planning this can be limited to a short, scheduled window.